Start MIKI-D Control.
First, store your preset settings to make sure that when the presets are set to factory default after the update ( this depends on the firmware version you update from), you can restore all presets to their original state.
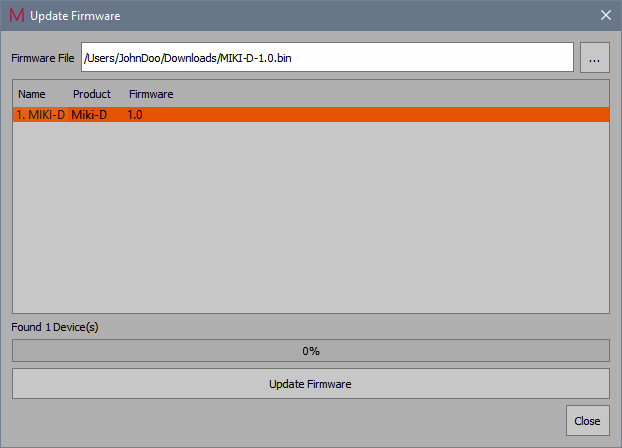
Make sure the MIKI-D is not active or in use by any application, then navigate to the tab menu “Tools/Update Firmware”.
Shortcuts:
Windows: Ctrl+U
macOS: CMD+U

The latest firmware file can be chosen via the navigation button.
Click the Update Firmware button.
The MIKI-D will switch into a serial communication device, to receive the Firmware.
Now the Firmware is sent and written to the device. If for some reason you get an error message, just try again. ( if you unplug the device while it is in serial mode, it will not show as a MIKI-D but when selecting “update Firmware” you can still update the firmware, just select the serial device )
When the programming is finished the MIKI-D switches back to the new firmware as an audio device.
Note on Windows 7: you may be prompted to install the MIKI-D serial Communication driver for Windows. The driver file (miki_cdc.inf) is located in the installer directory of the MIKI-D Control application. For Windows 10 and 11 this is not needed. If you encounter any Error please follow the following manual: http://miki-cable.com/manually-install-driver-on-windows/
